Honeycomb
The Honeycomb Integration for Signals allows users to create events in FireHydrant from triggers in Honeycomb. Anytime Honeycomb sends an event to FireHydrant, FireHydrant checks to see if the event payload matches a rule set up by one of your teams. If there's a match, we’ll alert the team. Learn more about Alert Rules here.
Configuring Honeycomb Webhook
- In FireHydrant, navigate to the Signals Sources page (Signals > Sources). Here, you’ll find a webhook URL you will use when creating a webhook in Honeycomb.
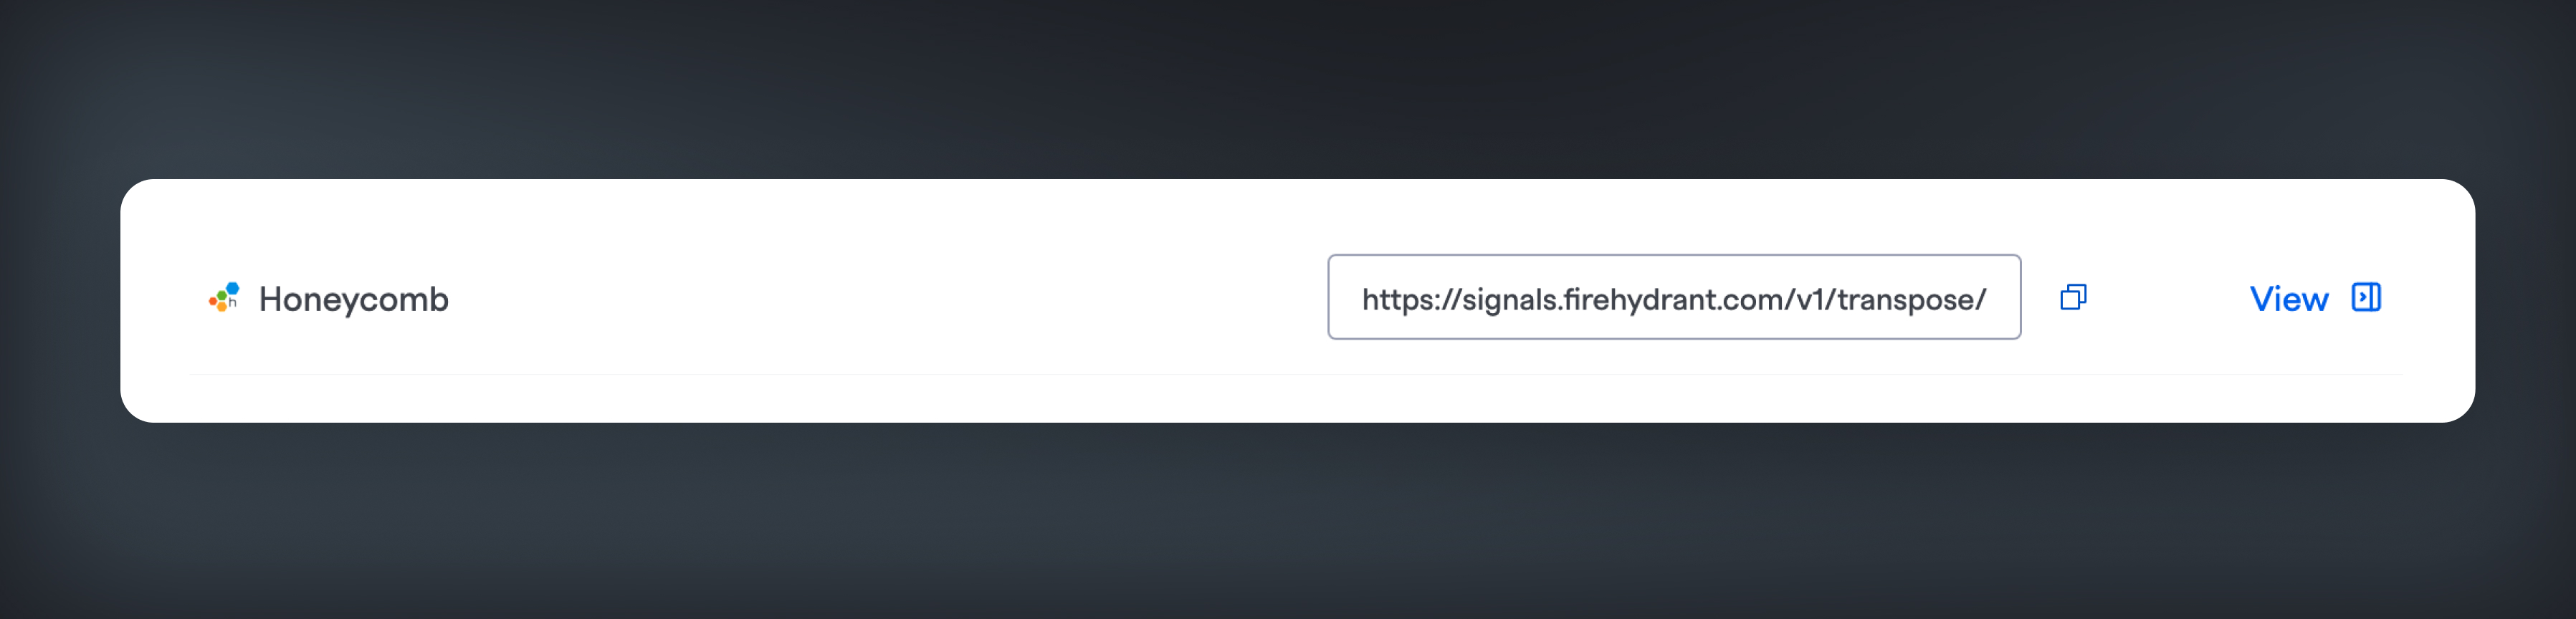
Copy the Honeycomb URL
- In Honeycomb, navigate to the team settings page (https://ui.honeycomb.io/teams). Find the team to which you want to add the webhook and click on it. Click the Integrations tab for that team.
- Click the “Add Integration” button towards the bottom of the page. Choose the “Webhook” option. Give the webhook a name that you can easily reference later on.
- Add the webhook URL from FireHydrant that we copied in step one. Add a shared secret if desired (not required on the FireHydrant side).
- Click “Add” to save your webhook.
Adding Webhook to a Trigger
In Honeycomb, you can add a webhook as a notification recipient for a trigger.
- Navigate to the Triggers list using the left sidebar. Find a trigger that you want to use to send Signals to FireHydrant. Click into the Trigger by clicking on the title.
- At the bottom of the page, click “Add Recipient” to add your webhook. Select your Webhook in the Recipient dropdown in the modal and click “Add.”
- Your trigger is now set up to create Signals in FireHydrant.
Testing your Honeycomb Webhook
- From the triggers list in Honeycomb, click the “Test” button.
- Confirm that FireHydrant received your webhook by visiting Alerting > Signals Logs in the web app. You should see a new Signal created. You can open the drawer to see the full payload from Honeycomb.
Updated about 2 months ago