Jira Server (On-Premise)
Note:
FireHydrant supports Jira 8.x versions out of box. If you are using Jira 9.x, please reach out to support and ask to have it enabled for your organization.
FireHydrant can create tickets in Jira for each of your incidents, with linked tickets for follow-ups to prioritize after the incident. This way, all actions proposed during an incident are tracked in your existing project management workflows for estimation and scheduling.
All steps in this document are required unless otherwise noted.
Prerequisites
- You'll need to be an Owner in FireHydrant to configure integrations
- You need a service account/user in Jira with the following permissions:
- Project Permissions
- Browse Projects
- Issue Permissions
- Assign Issues
- Close Issues
- Create Issues
- Edit Issues
- Link Issues
- Move Issues
- Schedule Issues
- Other Permissions
- Read all Jira ticket types to be used with FireHydrant
- Read all Jira fields and custom fields to be mapped in FireHydrant
- Project Permissions
Note:
FireHydrant recommends using a generic Jira Server service account rather than an individual named user to avoid problems if the named employee were to depart the organization.
If you are using SSO with Jira Server, make sure that the Jira service account you use to authorize the integration is exempted from SSO (i.e. configured to authenticate with username and password instead).
IP Access
We have static IP addresses from which we make all requests. If your Jira Server instance is behind a network perimeter or firewall, you can add the following two IPs to the allowed list so FireHydrant can access your Jira:
- 34.150.247.118
- 35.185.58.206
Installing Jira Server integration
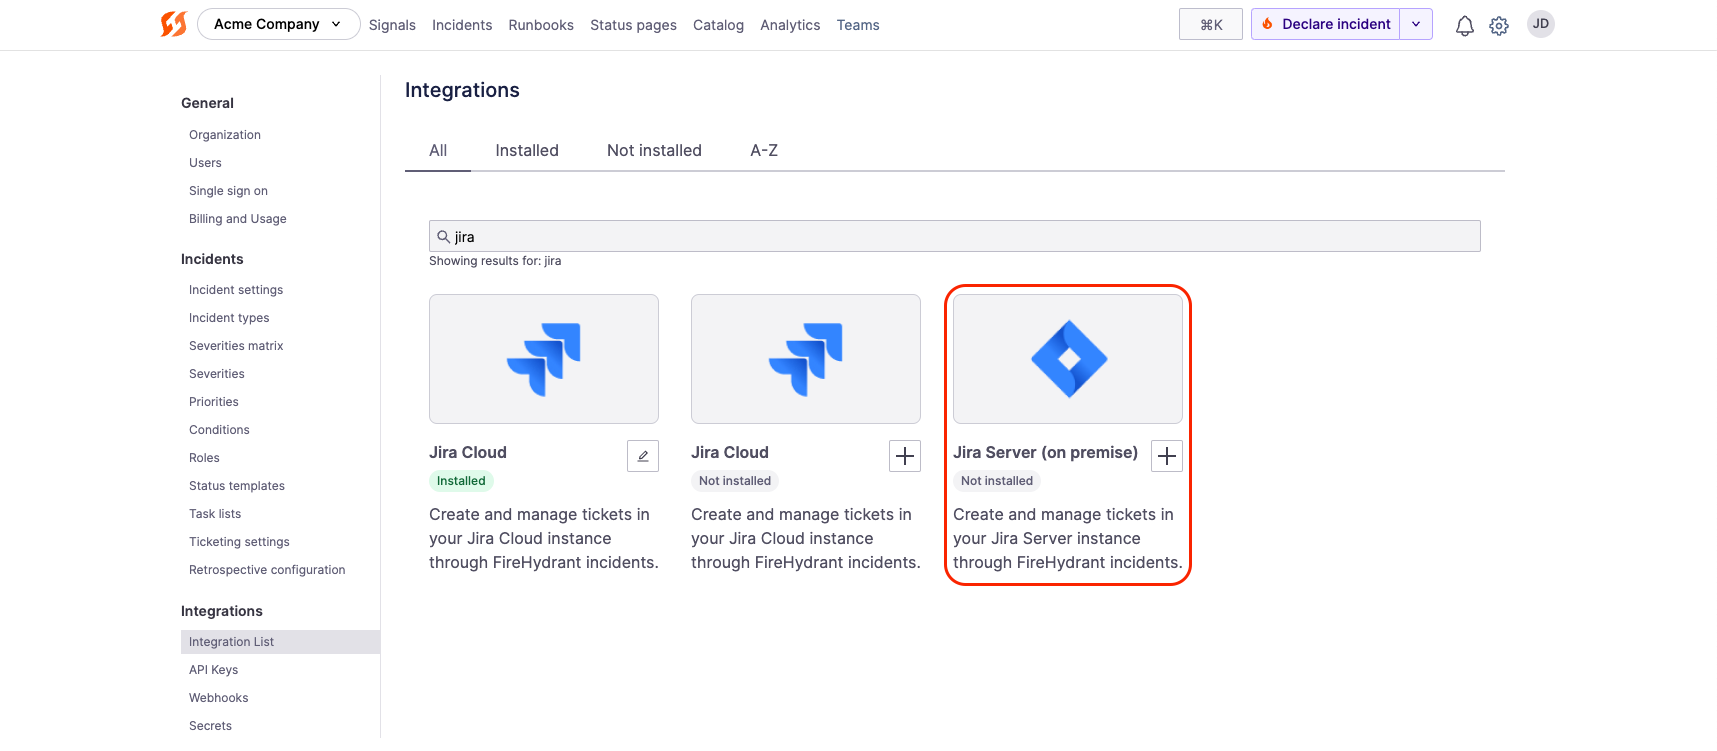
Jira Server tile in integrations
- Go to the Integrations page and search for the Jira Server integration. Click the '+'.
- On this page, you will have three inputs:
- API Base URL - The URL + port (if applicable) to your Jira server instance.
- Username - The username of the Jira service account you are using for this integration
- Password - The password of the Jira service account you are using for this integration
- Click Authorize Application.
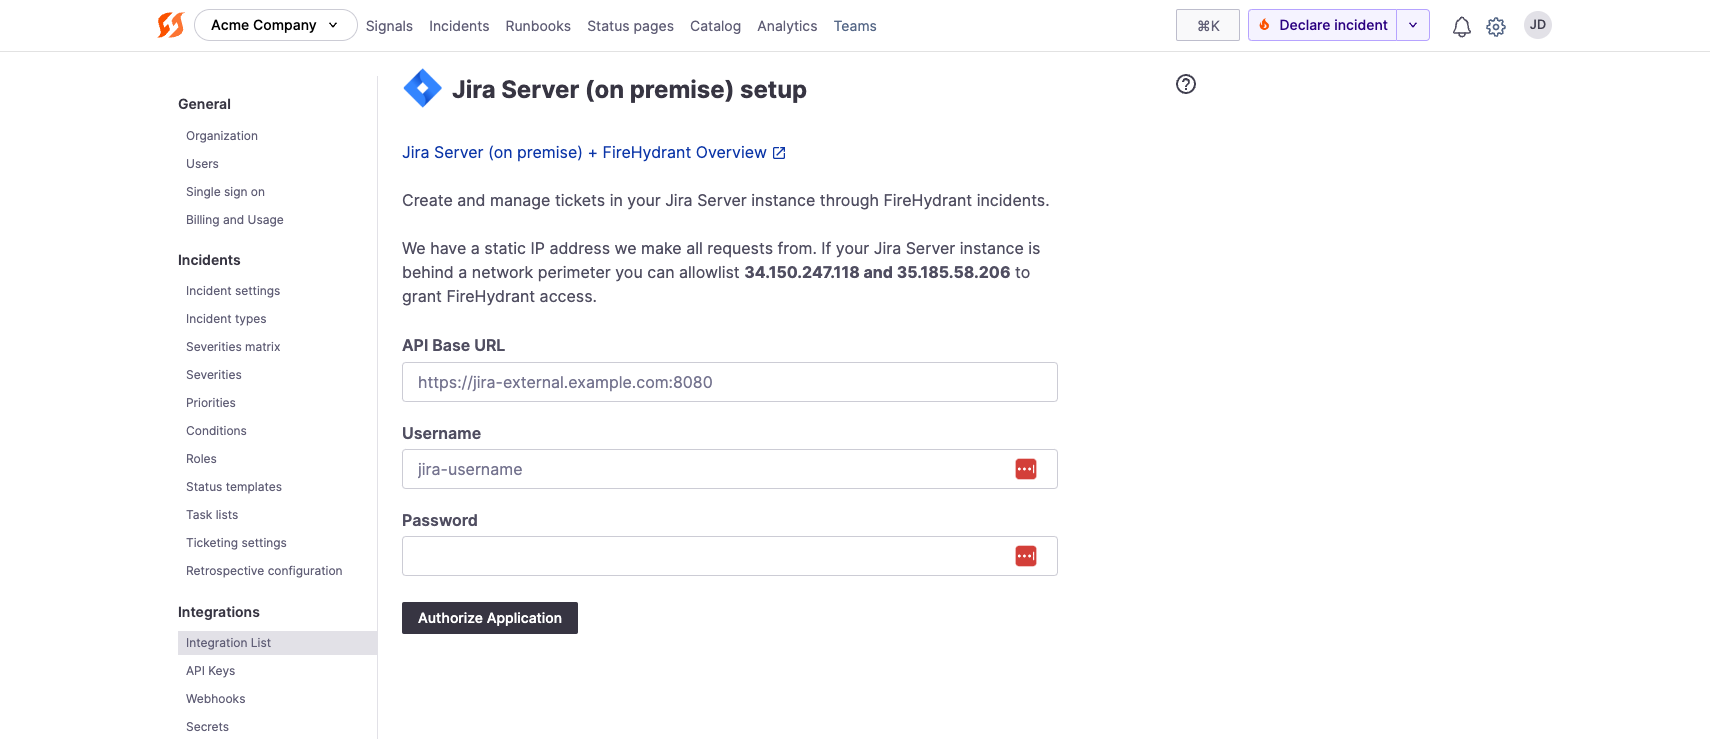
Filling in details for Jira Server
Configuring webhook to FireHydrant
To see updates to your tickets reflected in FireHydrant, you must configure an outbound webhook from Jira back to FireHydrant.
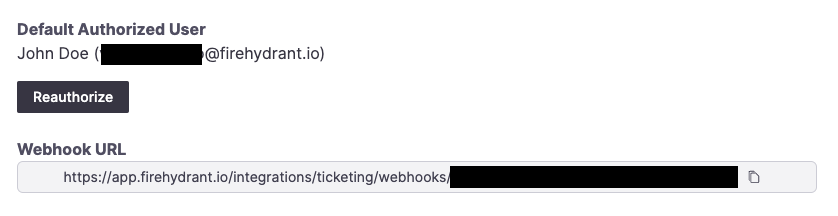
Jira integration settings page with generated webhook URL
- Once you finish installing Jira, you should be taken back to the Jira integrations page, where you should see a Webhook URL. Copy this URL.
- In Jira, configure a Webhook listener for FireHydrant using the copied URL. You can find this under Settings > System > WebHooks. On this screen, click "+
- Set this webhook for the projects you plan to use with FireHydrant (or all issues), and then check the Issue created and Issue updated boxes.
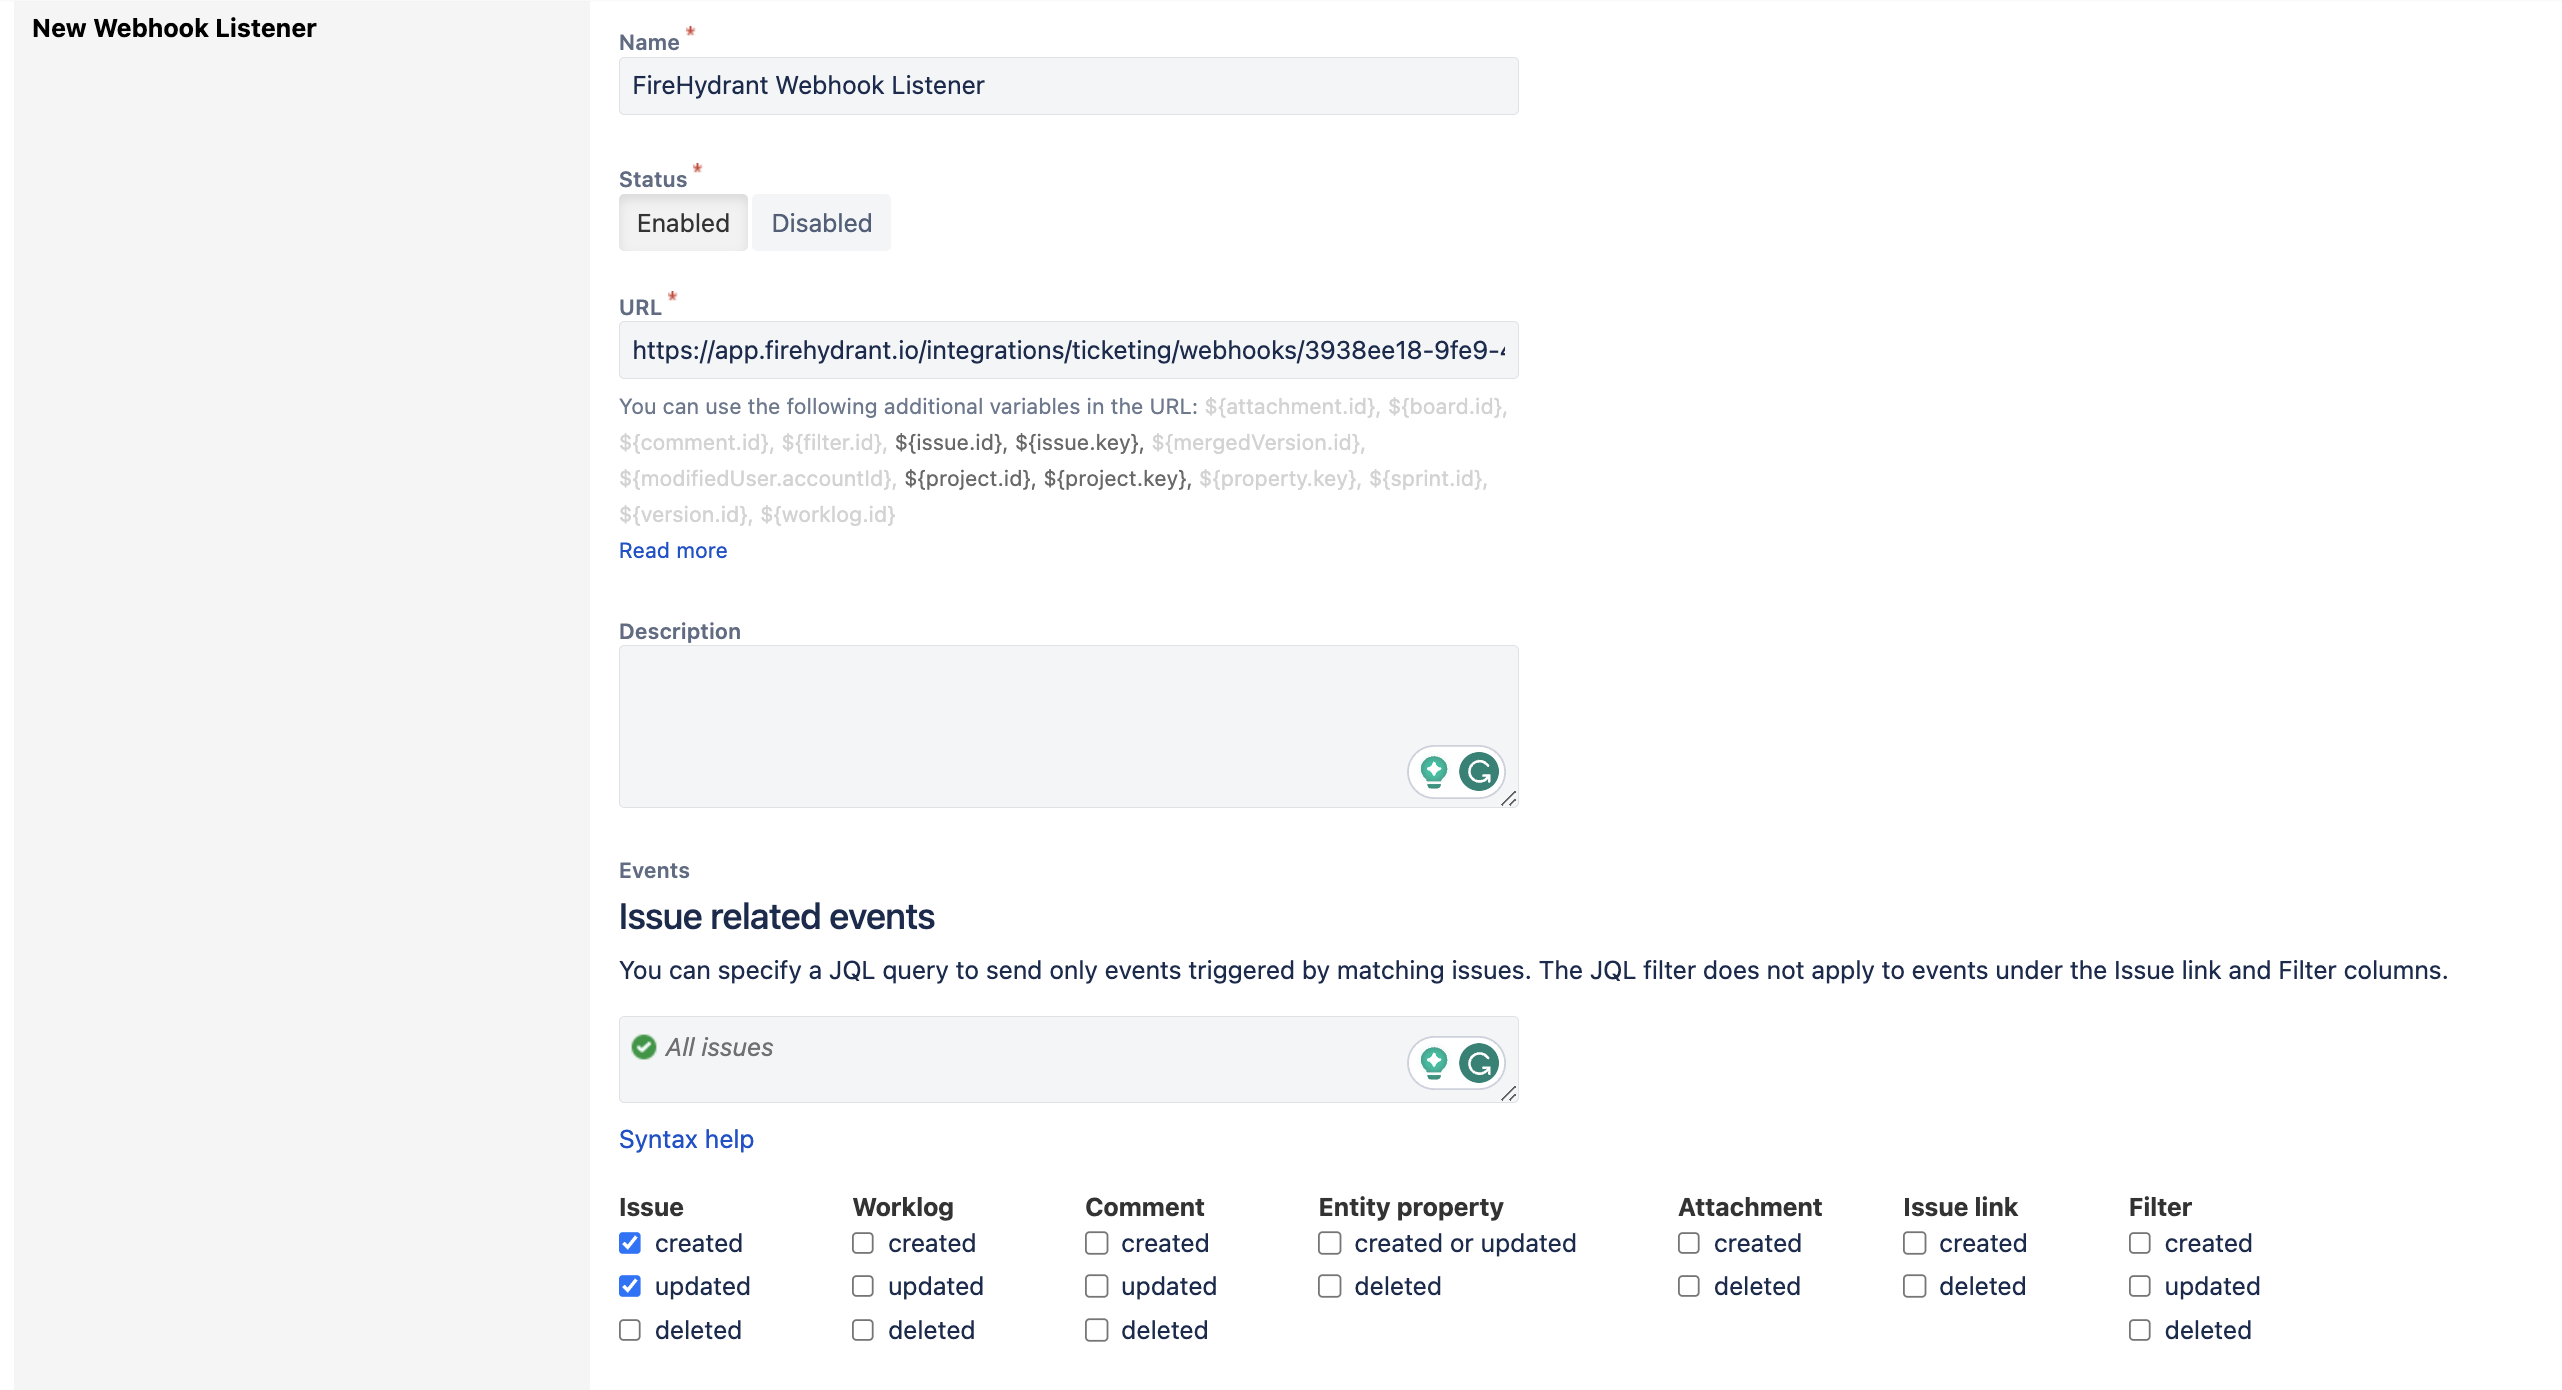
Creating a new webhook in Jira
Configuring Projects
Creating a project mapping for Jira Server
Before using the Jira integration, you'll need to configure a mapping for each Jira project you'd like FireHydrant to interact with so it knows what types of issues, issue states, or relationships to use when creating Jira tickets.
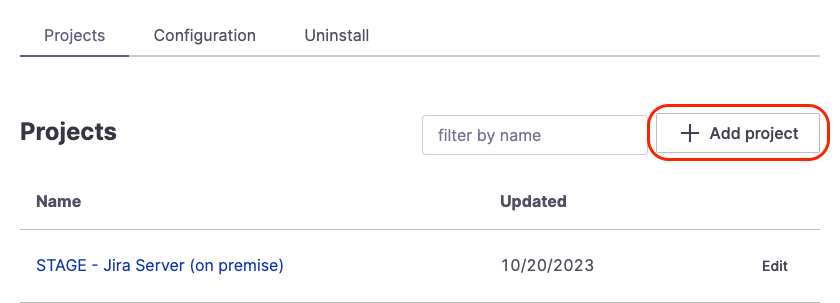
- From the Jira integration page in FireHydrant, scroll down to the Projects section and click '+ Add Project.'
- A modal will pop up for you to select which Jira project to configure. Once you've chosen one, the project will be created, and you'll be taken to the project settings page with the following tabs.
Incident Tickets
These settings will be necessary to create incident tickets in this Jira project but can be ignored if you only plan to use this project for Follow-Ups.
- Incident Default Issue Type - This is the issue type we'll use for incident tickets. Many FireHydrant users may create specific "Incident" issue types in Jira.
- Milestone Mappings - These are the Jira ticket statuses we'll use in Jira to correspond to the FireHydrant incident's Milestone.
- Any Active incident in FireHydrant corresponds to the Started, Detected, Acknowledged, Investigating, Identified, and Mitigated milestones.
- Any Inactive incident in FireHydrant corresponds to the Resolved, Retrospective Started, and Retrospective Completed milestones.
Follow Ups
These settings will be necessary for creating Follow-Ups in this Jira project but can be ignored if you only plan to use this project for incident tickets.
For example, many FireHydrant organizations will have a specific "Incidents" project where FireHydrant creates incident tickets. Then, they may configure separate projects for different engineering teams to create Follow-Ups.
These are the available fields:
- Default follow-up relationship to incident ticket - This is the type of relationship to associate the new follow-up ticket to your incident ticket if one exists. The relationship originates with the new task (outward relationship in Jira parlance).
- Follow-up default issue type - The type of issue we'll create in your Jira project for Follow-Ups
- Follow-up status mappings - Maps the FireHydrant Follow-Up status to selected Jira issue statuses. FireHydrant's terminology uses "Open," "In Progress," and "Done" to refer to a ticket's overall state.
Field Mapping
Jira is complex and highly configurable, so sometimes custom mappings need to be made between FireHydrant's incident fields and Jira's ticket fields.
If you have any custom required fields, you will need to configure field mappings. Otherwise, FireHydrant cannot create tickets for your project(s).
To learn more about field mapping, visit Jira Field Mapping.
Removing projects
To avoid unexpected problems, before you delete a configured Jira project, ensure that you have accounted for any Runbook steps and linked incidents and action items that reference the project.
Go to the Jira Server integration settings to remove a configured Jira project from the integration. Under Projects, click Edit next to the project you wish to remove, then select Delete Project tab and then Delete permanently. Confirm the action.
Note:
If you delete a Jira project configuration, this will impact any Runbook steps that were pointing toward that project. Even if you re-add the same project in a new configuration, those Runbook steps will need to be removed and re-added, as each "connection" or "project" is unique and does not carry over between deletions/recreations.
Default Ticketing Project
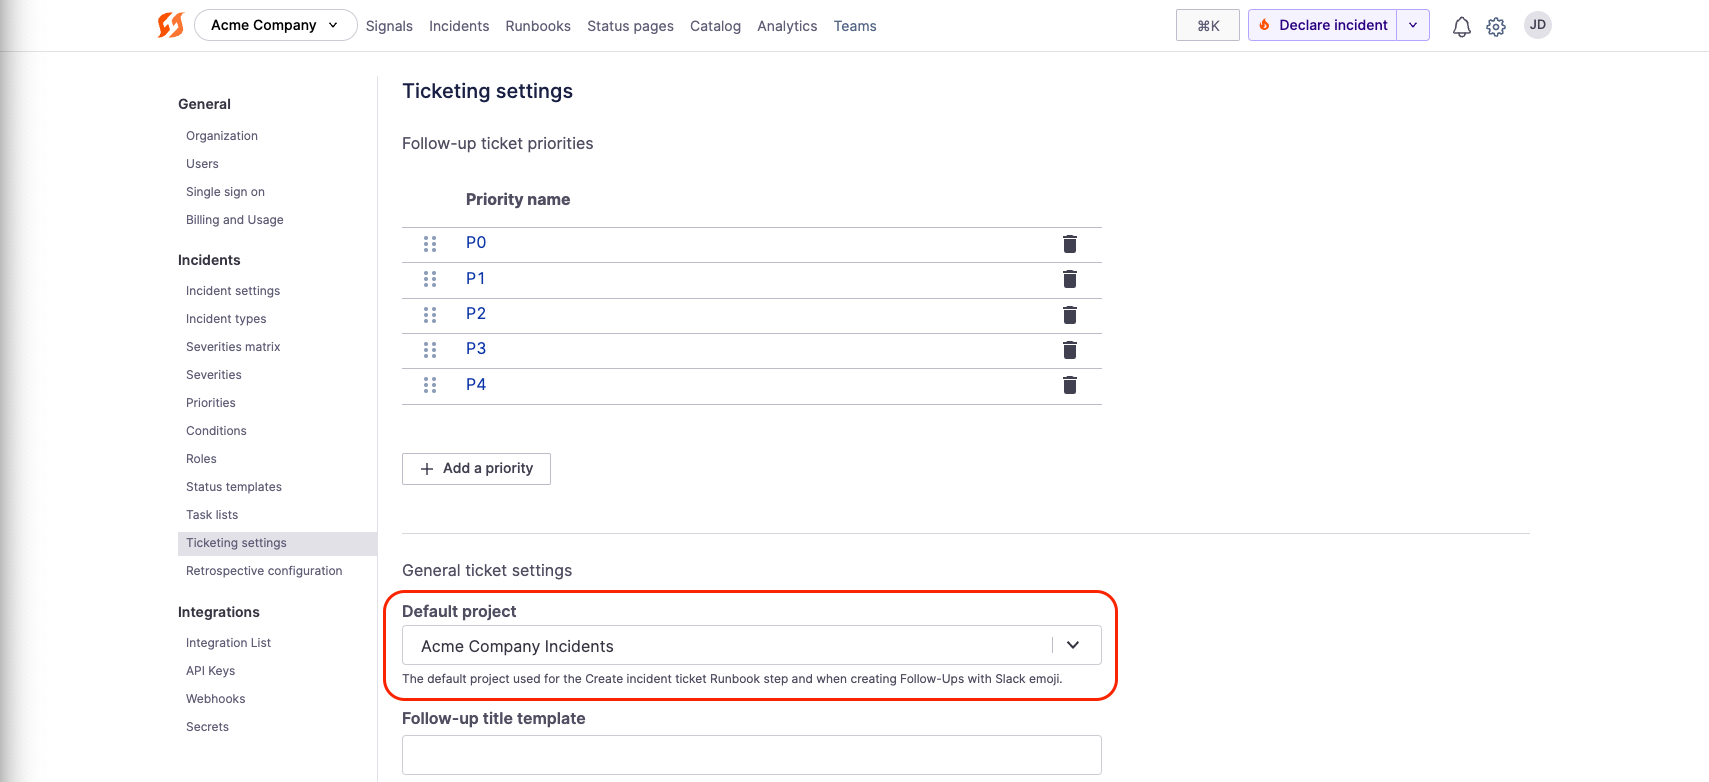
For any operations that require creating a Jira ticket, FireHydrant will use the Project selected (e.g., in the Runbook step, in the dropdown when creating a Follow-Up, etc.).
But if those don't exist or are not specified, FireHydrant can/will fall back to a Default Project you configure. In addition, if you are creating Follow-Ups via emoji in Slack, this Default Project will also be used.
This can be configured in Settings > Ticketing settings > Default project.
Setting a default project in ticketing settings
Next Steps
- Review how to automate creating Jira incident tickets via Runbooks
- See how you can create action items/follow-ups that create linked Jira tickets
- Browse the rest of our integrations
Updated about 2 months ago