Understanding Istio Ingress
Istio is a hot technology right now. Giants such as Google and IBM have devoted entire teams of engineers to the project to push it to production readiness. Check out this post on getting to know Istio Ingress.

Istio is a hot technology right now. Giants such as Google and IBM have devoted entire teams of engineers to the project to push it to production readiness. Since 1.0 has been released recently, I wanted to write down some of the things that confused me coming from a strictly Kubernetes only world where we have Ingress controllers and Service load balancers and how Istio takes these same concepts but on stimulants.
Our Stack#our-stack
Istio has a few core concepts for getting traffic into your cluster from the outside world. For this post, you can assume the stack is:
- Minikube 0.28.0
- Kubernetes 1.10
- Istio 1.0.1
The Istio “Gateway” Type#the-istio-gateway-type
Istio has a resource type called “Gateway”. The Istio Gateway is what tells the istio-ingressgateway pods which ports to open up and for which hosts. It does this by using the label selector pattern coined by Kubernetes. Let’s look at the httpbin gateway from the Istio docs:
apiVersion: networking.istio.io/v1alpha3
kind: Gateway
metadata:
	name: httpbin-gateway
spec:
	servers:
	- port:
			number: 80
			name: http
			protocol: HTTP
		hosts:
		- "*"
The bolded selector is the interesting piece here. Basically what happens is the istio-ingresgateway pods are tagged with the label “istio=ingressgateway”. You can easily find them with kubectl:
$ kubectl get pod -n istio-system -l istio=ingressgateway -o name
pod/istio-ingressgateway-6fd6575b8b-xls7g
So this pod will be the one that receives this gateway configuration and ultimately expose this port because it matches the Istio Gateway label selector. Nice! But let’s see it for ourselves.
Istio configures Envoy processes to accept and route traffic. Envoy also comes with a very simple admin website that you can access as well. Istio configures Envoy to listen for the admin portion on port 15000, which means we can use kubectl to access this easily:
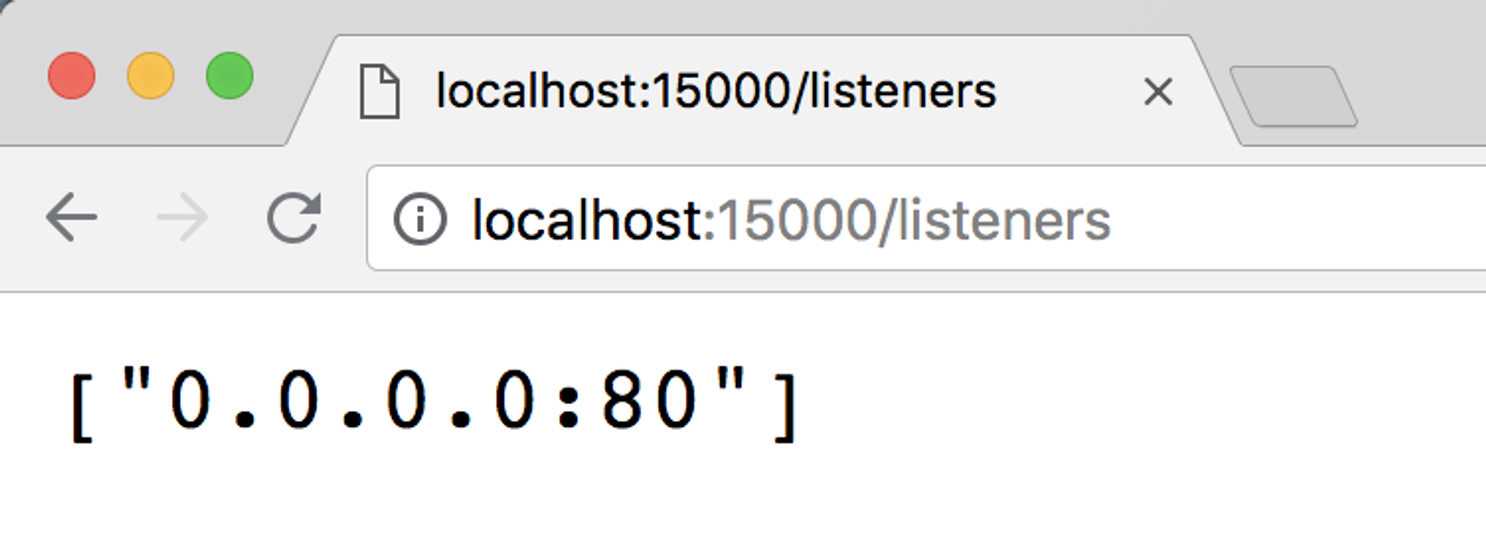
$ kubectl -n istio-system port-forward istio-ingressgateway-6fd6575b8b-tfc7z 15000Once this is started, we can open up http://localhost:15000/listeners and see our listener that has been added to this pod.

Envoy admin with our listener applied
So this has opened up a port on our ingress gateway in Istio, but when traffic hits this gateway, it will have no idea where to send it.
The Istio “VirtualService” Type#the-istio-virtualservice-type
Now that our Gateway is ready to receive traffic, we have to inform it where traffic should go when it does receive it. Istio configures this with a type called “VirtualService”. By including a list of gateways a virtual service config should be applied to, Istio then configures those gateways with the routes defined in the VirtualService configuration. For example, using the httpbin example again:
apiVersion: networking.istio.io/v1alpha3
kind: VirtualService
metadata:
	name: httpbin
spec:
	hosts:
	- "*"
	http:
	- match:
		- uri:
				prefix: /status
		- uri:
				prefix: /delay
		route:
		- destination:
				port:
					number: 8000
				host: httpbin
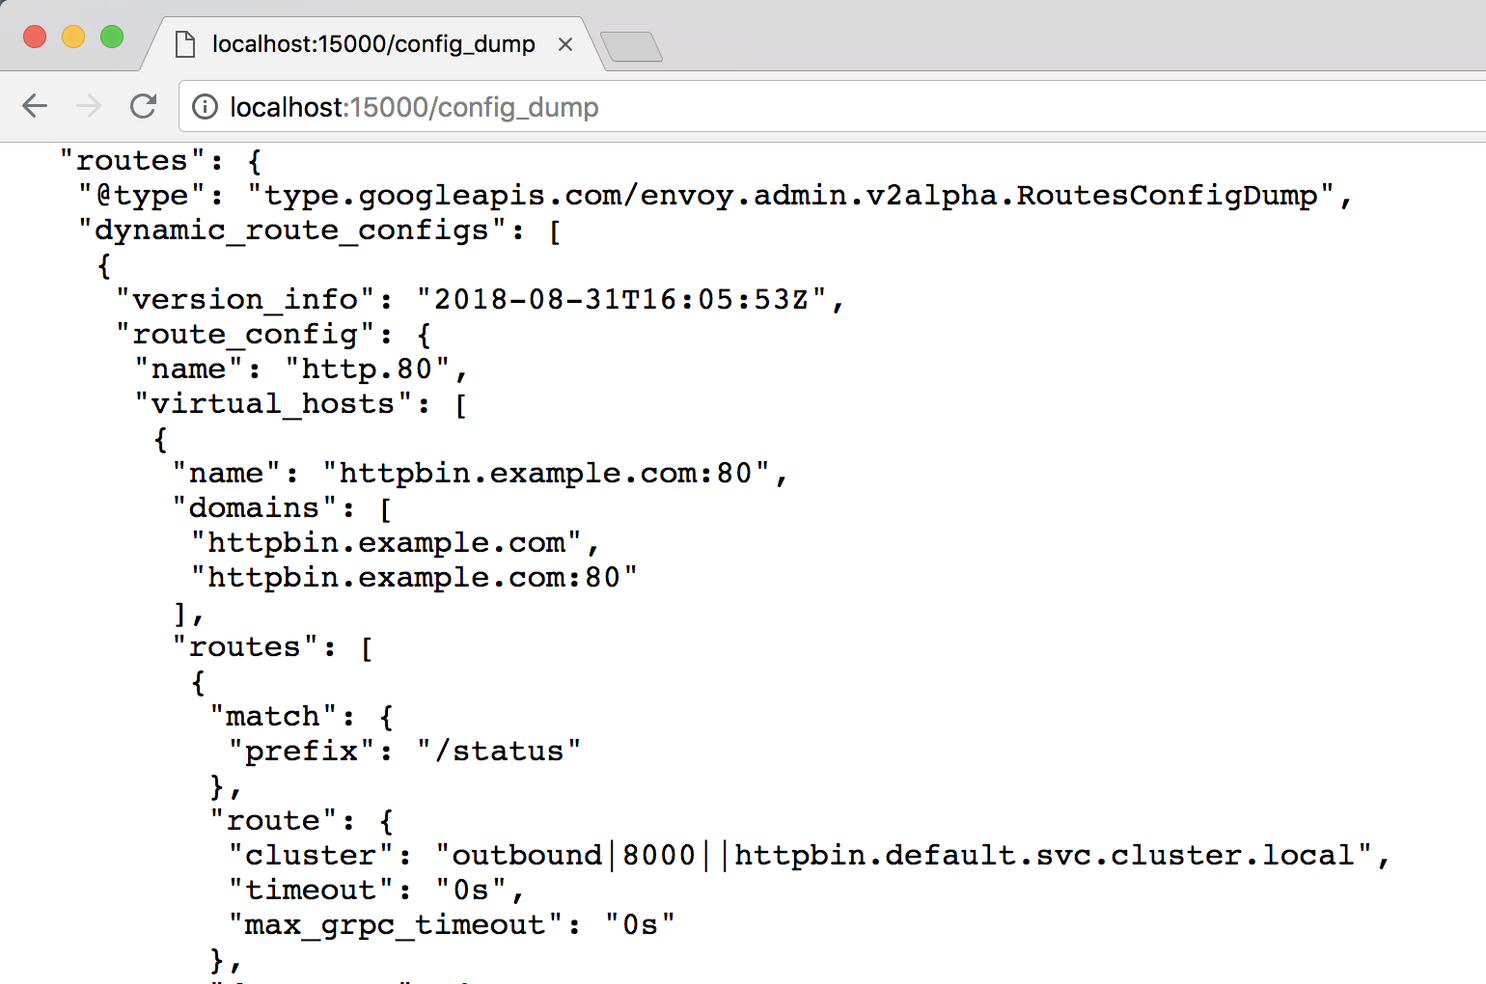
The bolded portion is defining which gateways this VirtualService should be configured on. The http block then defines all of the matches on URI prefixes that should then be routed to the given destination. When we apply this, we can use the Envoy admin to see this take affect again. Open up http://localhost:15000/config_dump and look for the “routes” portion of the printed JSON (it’s pretty large so cmd+f is your friend here).

Envoy route config after applying the virtual service
So Istio has taken our VirtualService definition and applied it to our gateway pod that it matched on the name. Success!
With this all set up, we can apply a simple manifest to install the HTTPBin project in our Kubernetes cluster. There is a sample available here.
We can also use the handy port-forward command on kubectl to expose our gateway for httpbin:
$ kubectl -n istio-system port-forward istio-ingressgateway-6fd6575b8b-tfc7z 80Note: You may need to run this with sudo.
With this running, open another terminal tab and try curling the project:
$ curl -v localhost/status/200
* Trying ::1...
* TCP_NODELAY set
* Connected to localhost (::1) port 80 (#0)
> GET /status/200 HTTP/1.1
> Host: localhost
> User-Agent: curl/7.54.0
> Accept: */*
>
< HTTP/1.1 200 OK
< server: envoy
< date: Fri, 31 Aug 2018 16:25:31 GMT
< content-type: text/html; charset=utf-8
< access-control-allow-origin: *
< access-control-allow-credentials: true
< content-length: 0
< x-envoy-upstream-service-time: 2
<
* Connection #0 to host localhost left intact
Success! Our httpbin project has been exposed via our Istio Gateway and VirtualService. Let’s recap.
Recap#recap
The Gateway: Istio Gateway’s are responsible for opening ports on relevant Istio gateway pods and receiving traffic for hosts. That’s it. However, they’re the critical link between received traffic and routing.
The VirtualService: Istio VirtualService’s are what get “attached” to Gateways and are responsible defining the routes the gateway should implement. You can have multiple VirtualServices attached to Gateways. But not for the same domain.
I hope this was helpful, understanding how Istio gateways and virtual services work together greatly increased my confidence in using the project in a production setting. Kubernetes Ingress controllers are a great abstraction, but they’re simple. They don’t offer the flexibility Istio has created for ingress routing.
You just got paged. Now what?#you-just-got-paged-now-what
FireHydrant helps every team master incident response with straightforward processes that build trust and make communication easy.