Confluence Cloud
FireHydrant can export incident retrospectives to Confluence, and you can flexibly configure the templated information posted to Confluence.
Prerequisites
- You will need Owner permissions in FireHydrant to configure integrations
- You will also need a service account/user with Administrator privileges in Atlassian/Confluence Cloud.
Note:
FireHydrant recommends using a generic Confluence Cloud service account rather than an individual named user to avoid problems if the named employee were to depart the organization.
The default authorized user configuring this integration will be the named "author" of the page that is created in Confluence.
Installation
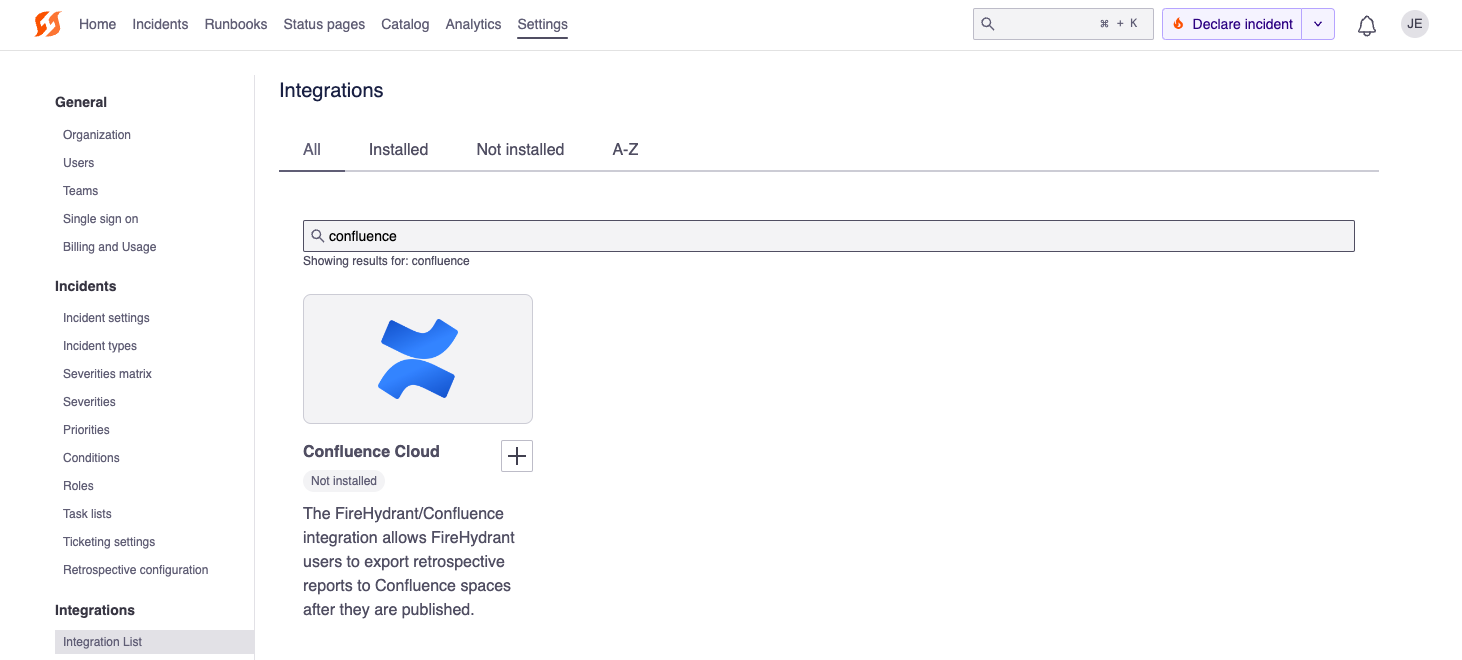
Confluence tile on the integrations page
- On FireHydrant, navigate to your Integrations page and search for "confluence." Click the '+' on the tile.
- On the next page, click Authorize Application. This will take you to the Atlassian login screen, or it will take you back to the integration page settings in FireHydrant if already logged in and approved.
- From here, you can select which space you'd like FireHydrant to post into.
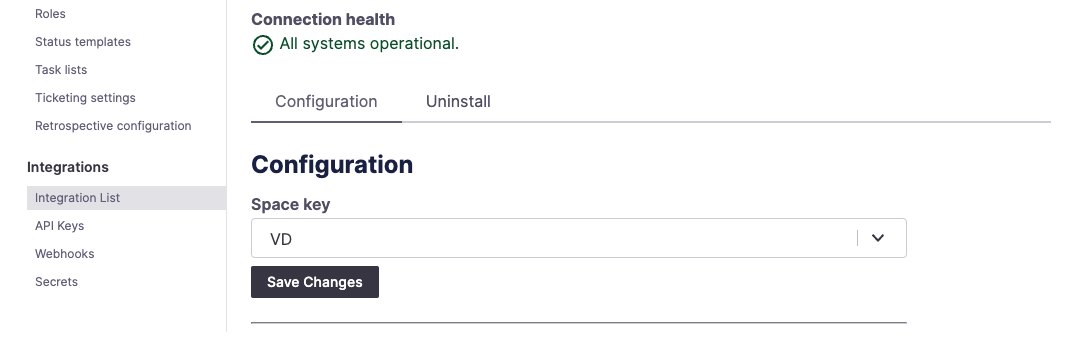
Selecting the space to post into
Note:
FireHydrant currently supports one target Atlassian org and one space within that org for Confluence. If you require multiple spaces or orgs, please submit this feedback to support.
Uninstalling Confluence Cloud
To uninstall, navigate to the Confluence settings page via the integrations page, click the Uninstall tab, and then Uninstall Confluence Cloud.
Note that if you uninstall Confluence Cloud, this will not automatically remove any configured Confluence Runbook steps from your Runbooks, and those steps will simply fail upon execution.
Next Steps
Now that you've installed Confluence:
- You're ready to set up a Runbook step to Export Retrospective to Confluence
- You can look into other Retrospective export integrations like Google Docs
- Browse the rest of our integrations
Updated 3 months ago