Okta for Status Pages
With FireHydrant's status pages, you can lock them behind your SSO provider so that only employees or other organization members can access them.
Note:
We currently only support SAML 2.0 for SSO-authenticated status pages. In addition, this limits access to anyone in your organization who can login via SSO, not only users with FireHydrant licenses.
Prerequisites
- You'll first want to set up and configure a status page. Once the page is created and accessible, you can start working through these instructions to lock it behind authentication.
Okta SAML
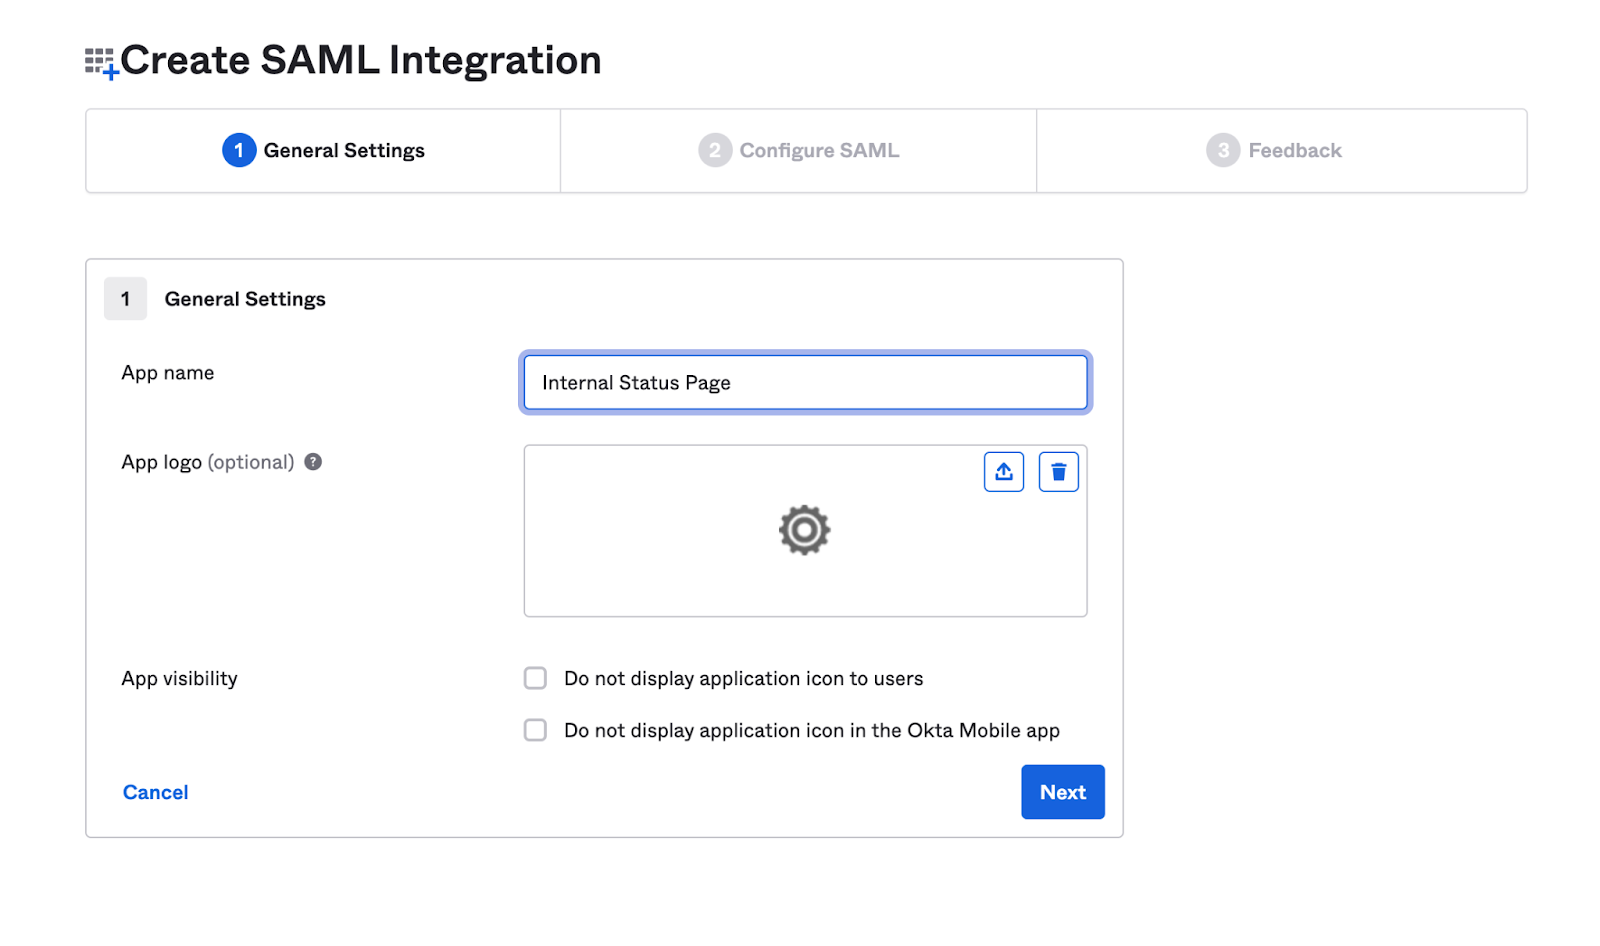
1. General Settings
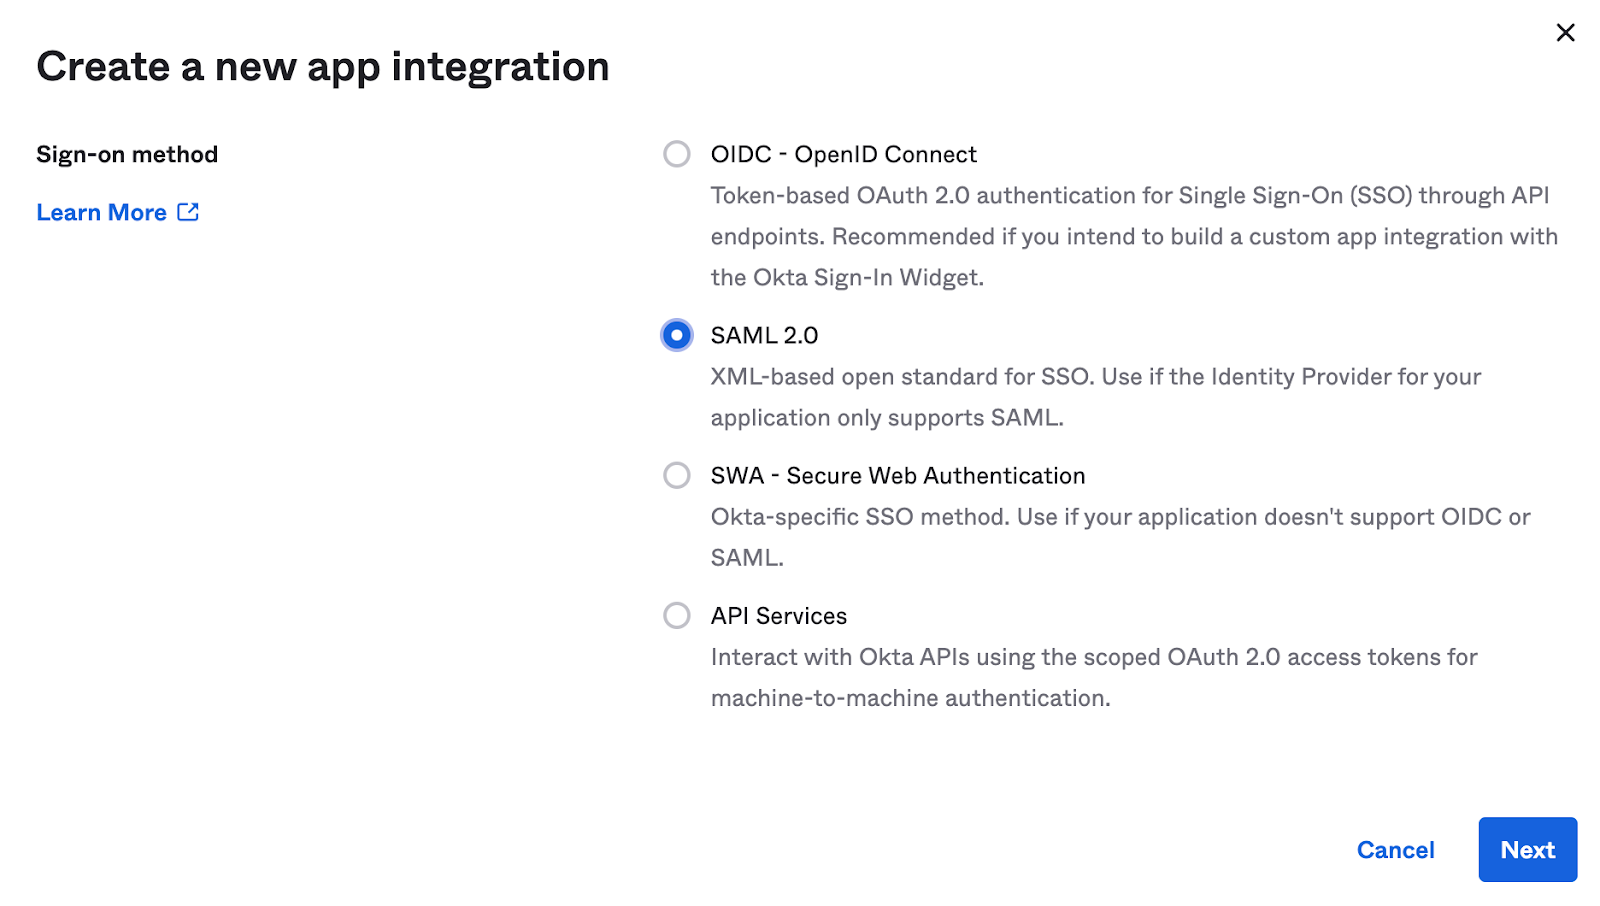
First, you'll want to create a SAML 2.0 application in your provider.
- When selecting the type, choose SAML 2.0.
- Provide a descriptive name for your application, such as "Internal Status Page."
Configuring a new SAML app 1a
Configuring a new SAML app 1b
2. Configure SAML
For configuring the SAML, use the information below to populate the SAML settings and attribute mappings, where <custom domain> is the custom domain for your status page (for example, status.acmeco.com).
General
| Setting | Value |
|---|---|
| Single sign-on URL | https://<custom domain> |
| Use this for Recipient URL and Destination URL | ✔ |
| Audience URI | https://<custom domain>/auth/dex/callback |
| Default RelayState | -leave blank- |
| Name ID format | Unspecified |
| Application username | Okta username |
| Update application username on | Create and update |
| Other Requestable SSO URLs* | https://<custom domain>/auth/dex/callback |
*Click on Show advanced settings to display Other Requestable SSO URLs
Attribute Statements
| Name | Value |
|---|---|
user.email |
3. Complete Setup and Notify FireHydrant Support
On the Feedback screen, ensure that you specify you’re creating an internal application, otherwise Okta may reach out about publishing the app in their marketplace.
Once the above is finished, download the Identity Provider Metadata XML, and then attach it when opening a support ticket.
Your support representative will complete the setup with you from there.
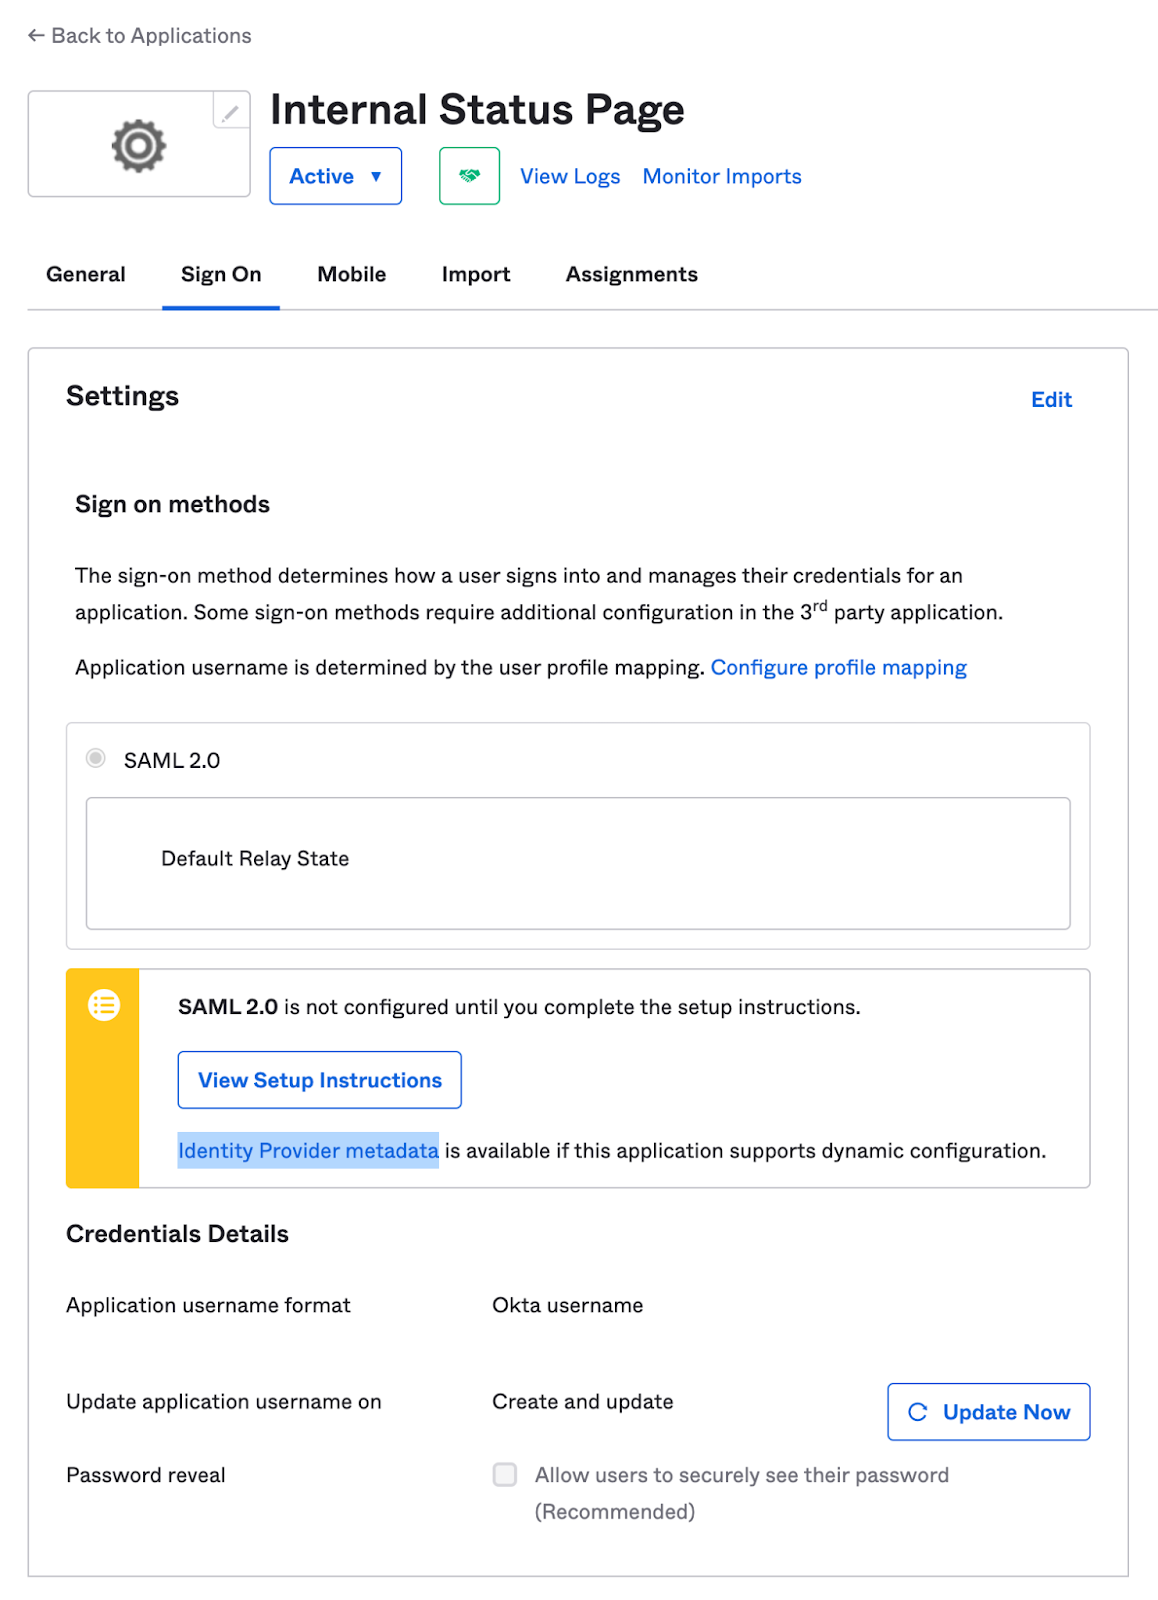
Application settings after creation
4. Verify
Once FireHydrant has configured and finished the setup, attempting to access an SSO-locked status page should redirect you to your organization's SSO sign-on page.
Next Steps
- Learn how to use your FireHydrant status page
- Learn more about Posting Updates during incidents
Updated 3 months ago