Azure AD for Status Pages
With FireHydrant's status pages, you can lock them behind your SSO provider so that only employees or other organization members can access them.
Note:
We currently only support SAML 2.0 for SSO-authenticated status pages. In addition, this limits access to anyone in your organization who can login via SSO, not only users with FireHydrant licenses.
Prerequisites
- You'll first want to set up and configure a status page. Once the page is created and accessible, you can start working through these instructions to lock it behind authentication.
Azure Active Directory SAML
1. Create SAML app
- While signed in to Azure Active directory, go to Application > Enterprise Applications.
- Click New Application at the top.
- Click Create your own application.
- Set a name for your app (we recommend Internal Status Page) and select Integrate any other application you don’t find in the gallery (Non-gallery) and click Create.

Azure AD gallery
2. SAML Configuration
- Once the app is created, go to Single Sign-On and select SAML.
- Click Edit for Basic SAML Configuration and enter your information using the table below as a reference, where is the custom domain for your status page.
| Setting | Value |
|---|---|
| Entity ID | https://<custom domain>/auth/dex/callback |
| Reply URL | https://<custom domain>/auth/dex/callback |
| Sign on URL | https://<custom domain> |
You will need this file in a later step.
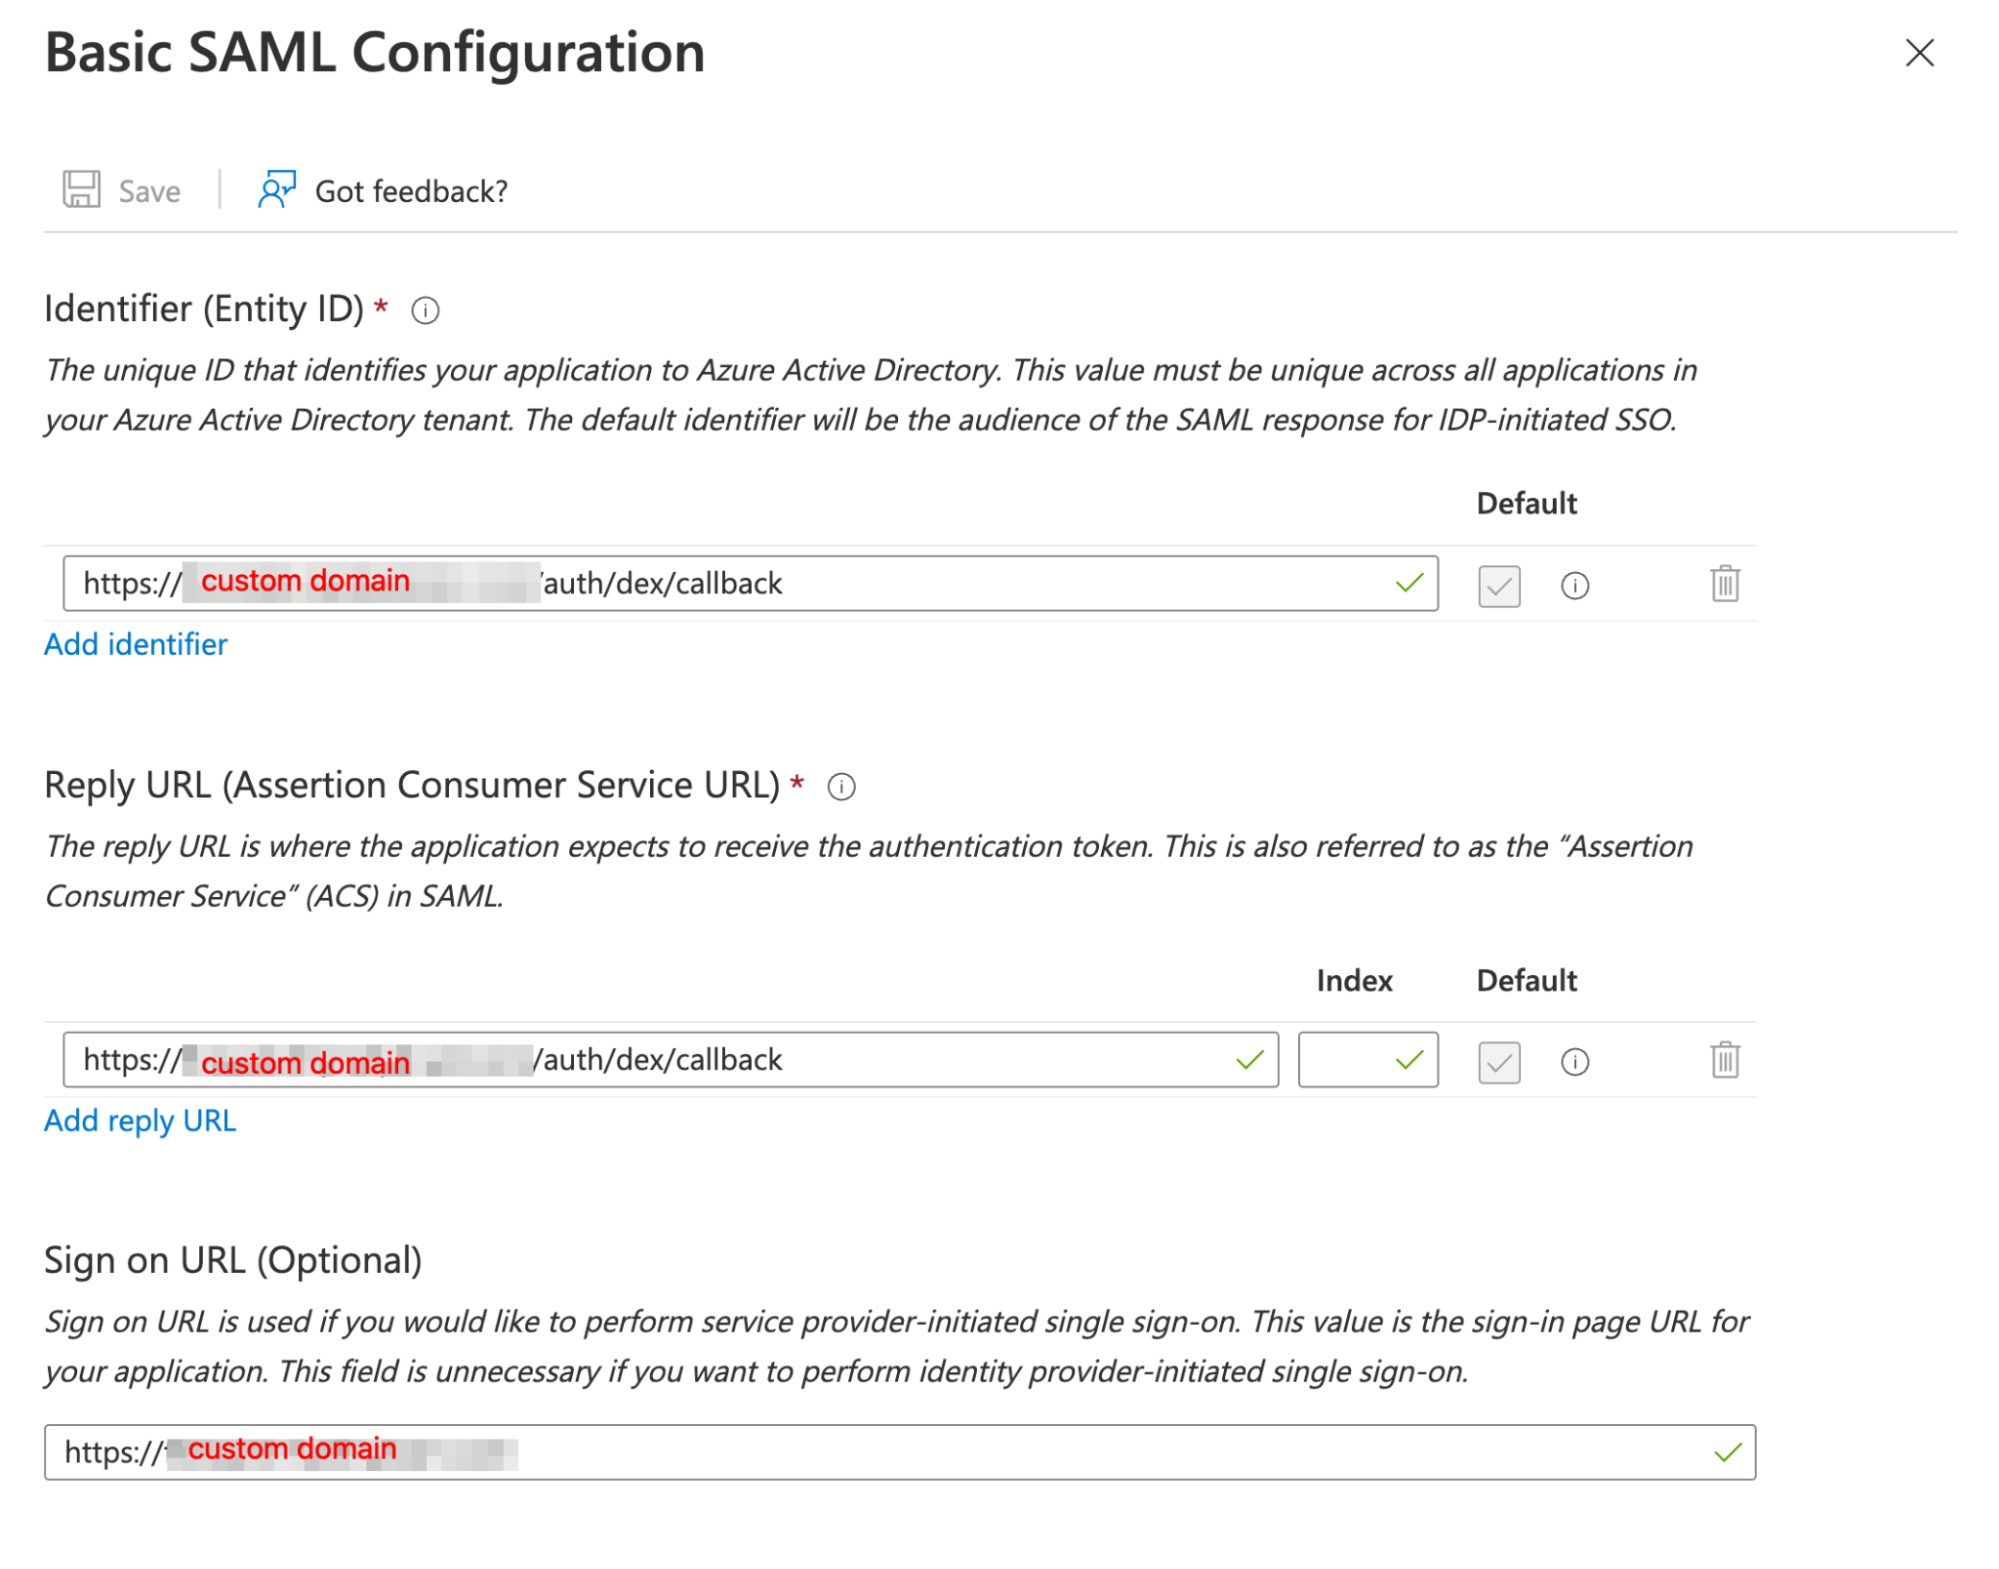
Example SAML configuration in Azure
-
Under Attributes & Claims, ensure you have at least one claim mapped to a value representing the user’s email address. This is how authenticated users will be identified.
- In this example, we have
emailaddressmapped to theuser.userprincipalnameproperty since that is how this tenant stores email addresses:
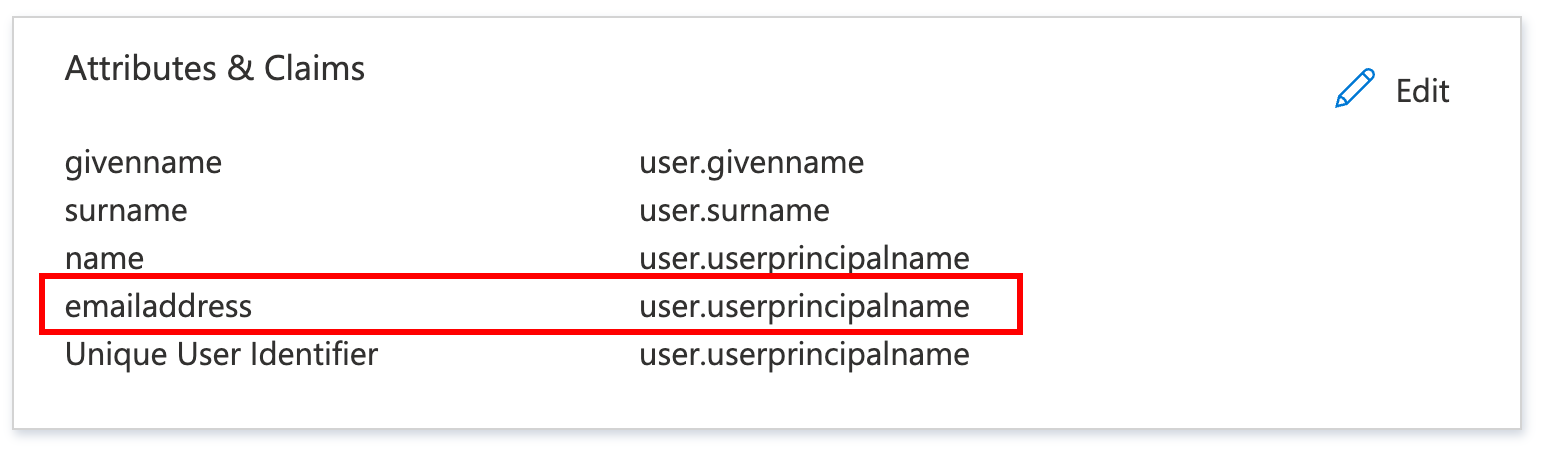
Attributes and Claims example
- In this example, we have
3. Submit metadata to FireHydrant
Under SAML Certificates, download the Federation Metadata XML file and upload it when opening a support ticket with FireHydrant.
Your support representative will complete the setup with you from there.
4. Verify
Once FireHydrant has configured and finished the setup, attempting to access an SSO-locked status page should redirect you to your organization's SSO sign-on page.
Next Steps
- Learn how to use your FireHydrant status page
- Learn more about Posting Updates during incidents
Updated 3 months ago